Session 08: Front Deck and Hull Panel Decals

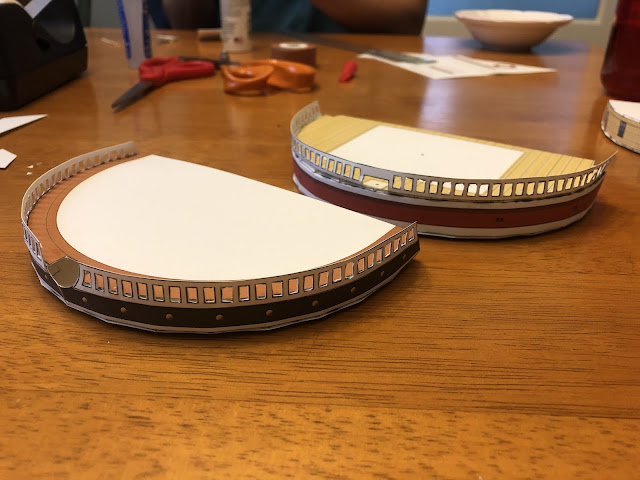
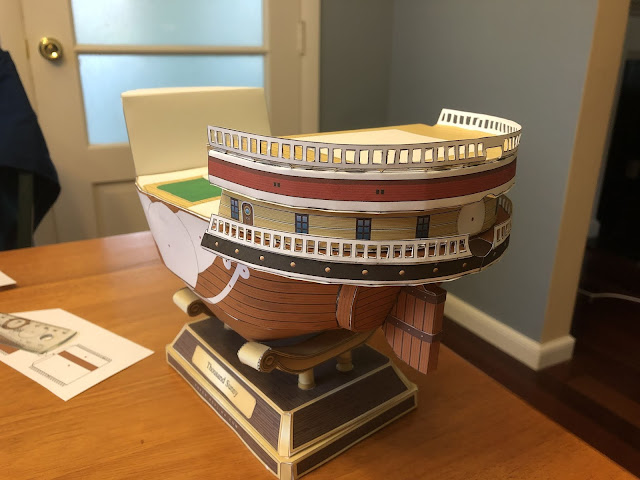
This session took a long time but not too much physical progress was made. The bow of the ship was started but neither of us could figure out how that ring attachment was oriented to connect the bow face with the ship itself [Figure 1, 2], so we decided to leave it be for now.

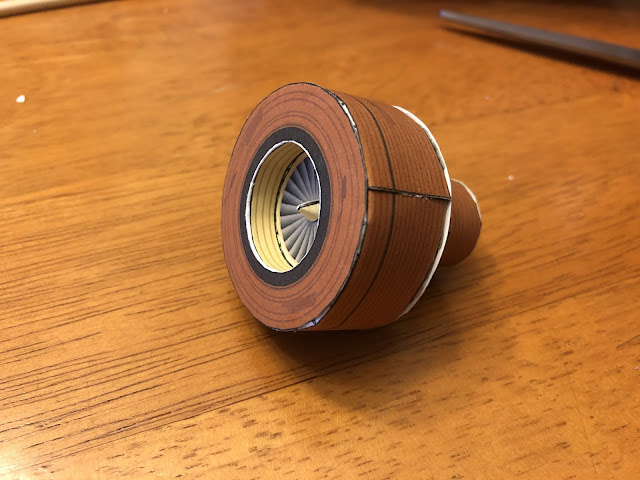
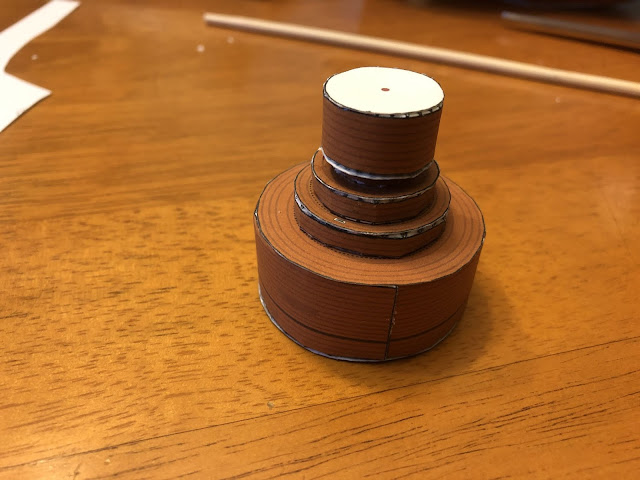
The next thing we made were the windows that connect to the ship's sides. Those took up the majority of the time since cutting out the pieces along with gluing them down was a chore, but the result looks pretty cool [Figure 3, 4].

The design for the front of the deck was also attached today. That entire section was a single piece that was folded in many parts then placed directly on the ship [Figure 5, 6].


Time Spent: ~5 hours


Figure 1: Ship's Bow Face

Figure 2: Ship's Bow Face cont.

Figure 3: Windows

Figure 4: Windows Attached

Figure 5: Front Deck Piece

Figure 6: Front Deck Attached

spacer

Session 07: Hull Side Panels

This session we began construction on the side panels that surround the lower portion of the ship's deck. The pieces were composed of six complete polygon cutouts [Figure 1, 2] that wrapped around themselves. They were then combined to form the side panels [Figure 3] and were subsequently attached to both sides of the ship [Figure 4, 5].


Time Spent: ~3.5 hours

Figure 1: Side Panel Faces

Figure 2: Side Panel Wings

Figure 3: Constructed Side Panels

Figure 4: Attached Side (Top view)

Figure 5: Attached Side (Side view)

spacer

Session 06: Living Quarters and Turbine (Part II)

Over the weekend, I picked up some more tools in order to complete this session. An X-Acto knife (and backup blades!) was integral for cutting out the tiny spaces in the railings and Zip Dry Paper Glue was good for attaching the large layers of the living quarters together. The glue dried extremely fast and behaved somewhat like rubber cement, so we only used it for the large, flat pieces while we continued to use fabric glue for the rest.

This session the first thing that was done was to cut out the railings. The railings [Figure 1] about 2 hours to fully cut out (there were 50 holes on that first piece, similar number on the other). Attaching the railings was much simpler in comparison [Figure 2] as only a tiny amount of glue was needed to adhere the light pieces to the compartments.

The three pieces for the living compartments were then glued together and then installed to the back end of the ship [Figure 3, 4]. Attaching the bottom layer to the hull was interesting as it slid on to it snugly like an old-school game cartridge.

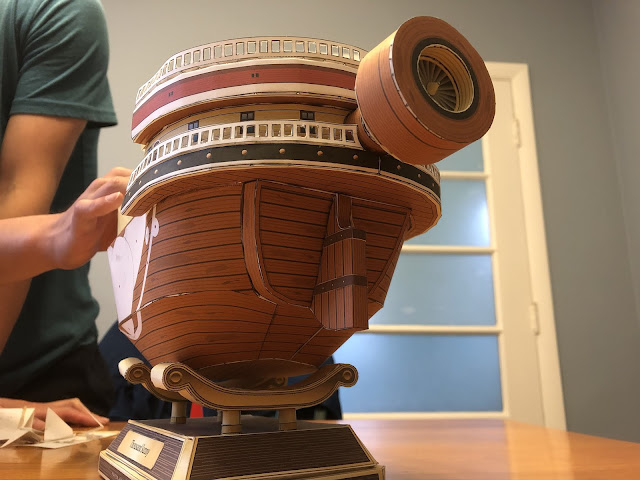
Lastly, we finished the construction of the turbine [Figure 5, 6] that we began last session. Although the pieces were not flat, the circular structure of them actually made it easy to build since the shape held strong while we waited for the glue to set.

The turbine was then subsequently attached to the open section of the living quarters [Figure 7, 8]. The ship cannot balance on its stand anymore due to being heavier in the rear, but that should be rectified soon as the next section we want to work on is the front, namely the figurehead.


Time Spent: ~4 hours
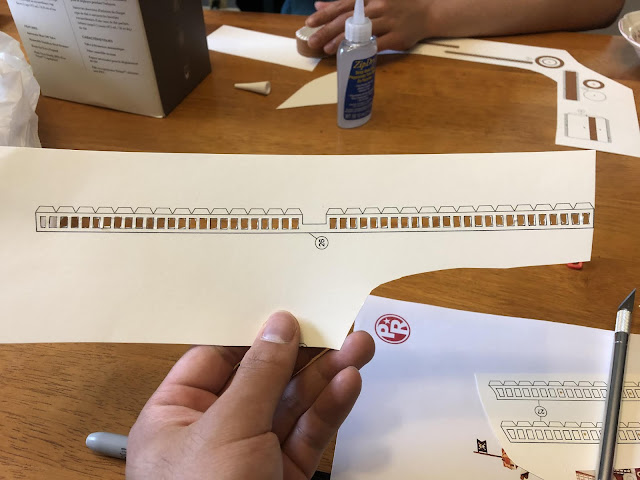
Figure 1: Railings

Figure 2: Railing Installation

Figure 3: Living Quarters Complete (High)

Figure 4: Living Quarters Complete (Low)

Figure 5: Turbine 

Figure 6: Turbine cont.

Figure 7: Turbine Installation (High)

Figure 8: Turbine Installation (Low)

spacer

Session 05: Living Quarters and Turbine (Part I)

This session was somewhat shorter in length than usual. No parts were fully completed, but sizable progress was made toward the living compartments located at the ship’s stern along with the turbine that will eventually be attached to the very back of the ship.

The pieces for the living compartments started off as three separate blocks, which later will be glued together to form the back end of the ship [Figure 1, 2]. We left the top layer unglued for now since the railing pieces have to be added between those pieces. At the moment, we are unable to properly cut out the railings [Figure 3] because we don't have an X-Acto knife to cut out the small squares (there's so many of them, going to take forever 😰).

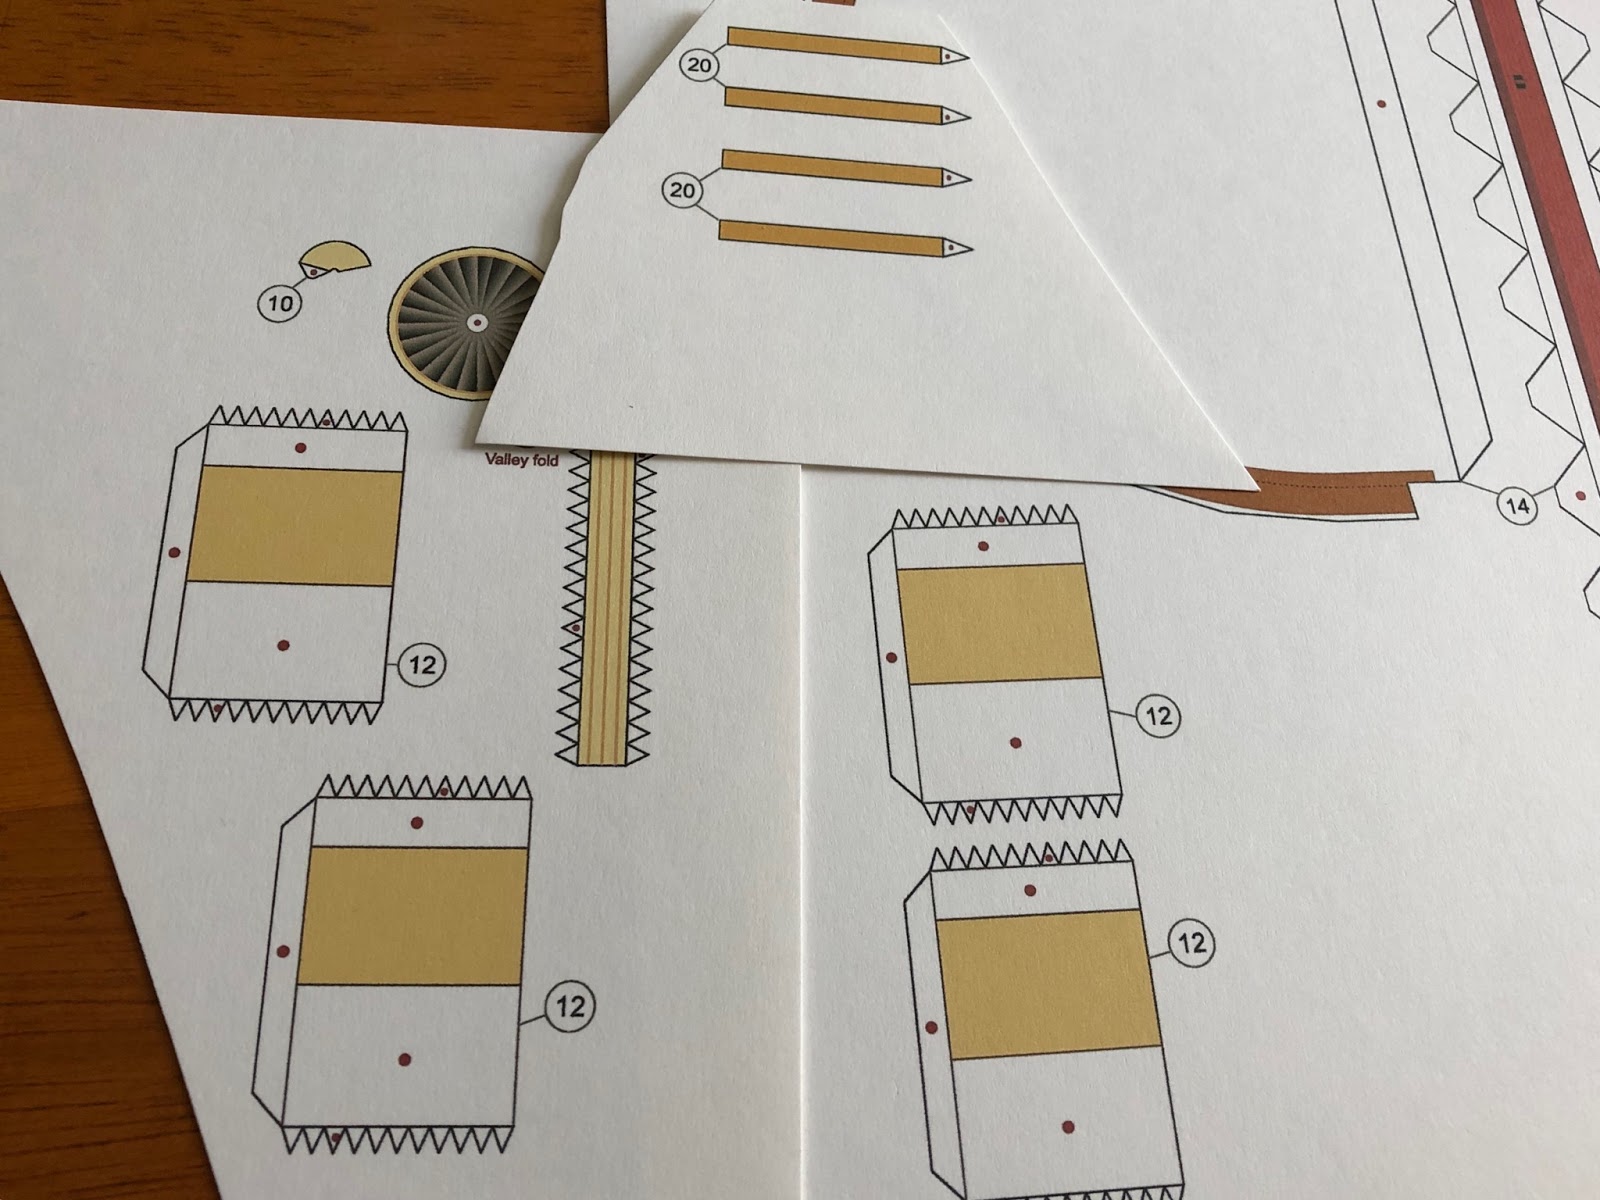
We moved on toward beginning the construction of the turbine that will be attached to the compartment [Figure 4]. Currently only the tip of the turbine has been made and that will be where we resume next session [Figure 5].


Time Spent: ~2.5 hours

Figure 1: Compartment Pieces

Figure 2: Living Quarters (Minus Railing)
Figure 3: Railings


Figure 4: Turbine Pieces

Figure 5: Turbine End Piece


spacer

Session 04: Hull Interior and Outer Layer, Rudder

In this session we finished gluing together the hull interior structures [Figure 1] that act as support for the rest of the ship. These pieces were comparatively easier to assemble due to their polygonal design. After the glue settled, they definitely gave the hull weight and strength [Figure 2].

Next up was creating the base structure for the bow of the ship, which will later be covered by the masthead [Figure 3]. Adding that piece also shaped the front of the ship to be rounder instead of the sharp point it used to be.

The creation of the rudder pieces went smoothly. The rudder itself was more difficult due to its irregular form, while the platform connected to it only needed an extra layer to give it that 3-D effect [Figure 4]. The rudder pieces assembled together neatly [Figure 5] and finally completed the bottom portion of the hull [Figure 6].

After that, the base layer of the deck was added to cover the interior of the ship [Figure 7] and concluded the session.


Time spent: ~3 hours

Figure 1: Interior Structure Support

Figure 2: Support Installation


Figure 3: Bow Support Structure

Figure 4: Rudder Pieces

Figure 5: Rudder

Figure 6: Rudder Installation

Figure 7: Ship Deck (Base)

spacer

Session 03: Finished Stand, Began Hull Interior

Not very much overt progress was made during this session. We started by completing the podium. We created the four rods that connect the base piece of the podium [Figure 1, 2] to the brackets that the ship rests on and then finished forming the brackets themselves [Figure 3, 4].

Next, we began cutting out the pieces that will become the interior support resting inside the hull of the ship [Figure 5]. An attempt to situate the pieces in their relative positions was made [Figure 6], but we'll look closer next time when the construction happens.


Time spent: ~3.5 hours

Figure 1: Podium Rods

Figure 2: Podium Rods Cont.

Figure 3: Podium (Left Bracket)

Figure 4: Completed Podium

Figure 5: Interior Structure Support Pieces

Figure 6: Structure Tentative Arrangement

spacer

Session 02: Relearning and the Hull

We finally decided to get back to this project this summer! Hopefully can make much more progress this time around compared to the one-off attempt from before. This day we spent some time trying to figure out how we wanted to proceed.

Eventually we decided to work our way from the ground up. The hull of the ship thus became our day's goal as we hardened our patience to cut and glue those pieces together.

I think in the past, I had a special glue specifically intended for paper-craft, but I could not locate it anymore so we ended up using fabric glue that I did have. The glue actually worked incredibly well since it's both translucent and solidified in under a minute. The main benefit of using it over Elmer's glue though was that it dried without warping the paper, which we unfortunately experienced when attaching part of the model at the start of this session.

The hull pieces were large and somewhat easy to cut out [Figure 1]. The main time sink of the day was holding the pieces into the right shape for long enough to allow the glue to settle. Each of those teeth had to be glued gradually, but eventually (with our hands covered in excess glue from pressing down on the seams) the hull of the ship took shape [Figure 2, 3].


Time spent: ~4 hours

Figure 1: Hull Pieces

Figure 2: Hull Outer Layer

Figure 3: Hull Out Layer Cont.


spacer

Session 01: Started Sometime 3(?) Years Ago

My best friend Alex and I finally started working on this once around 2 years ago (post date is an approximation). That day we started working on the base of the podium and almost finished it, but we spent a long time trying to figure out how to even tackle this project.

Much of that day was devoted toward learning to cut and glue the pieces properly. We finished getting the base made [Figure 1], but left off the pieces that become the stand upon which the ship rests on due to their difficult shape [Figure 2].


Time spent: ~5 hours

Figure 1: Podium (Base)


Figure 2: Podium Bracket Pieces

spacer

The Thousand Sunny

Background:

Sometime during the summer of 2015, my cousin and I found a store that specialized in paper-craft. The store was basically like a Lego store with completed models displayed throughout the store. Employees alternated between answering customer questions and working on creating more models, which I thought was really fun to watch.

One item in the shop that really caught my eye was a model of the Thousand Sunny from One Piece. My cousin bought the kit for me, which is basically just a bundle of thick paper with the various pieces printed on it. Below is the exact model in question.


Part 1 Overview (Display base, hull)

Part 2 Overview (Deck, figurehead)

Part 3 Overview (Masts, sails)
spacer